

Bookmarks page: Making a dynamic list using vanilla JavaScript and local storage.


For those of us with too many tabs open.
I am habitually someone who has too many tabs open. I could add them all to my browser bookmarks, but I don’t know if I want to keep them forever. So why not create a website instead? I don’t have time to read all these articles and resources I have open, so I may as well do another, even more time-consuming, activity to put it off even further. Make sense? No? Okay let’s go –
What did I make?
A simple dynamic site using JavaScript where I can add a link and description to a form and then have it added to a list. I’ll want a delete button, too, for when I read or decide I’ll never read one of these links. I’ll also work with local storage in order to save the data and keep the list every time I open up this page. The code for this project is at my GitHub page here .
Prerequisites
I would say a basic understanding of JavaScript is necessary for following along. Array and object methods will be helpful, along with an understanding of template literals. Knowing about local storage may help, but hopefully the way I use it here will be simple enough.
First – HTML, Creating the form
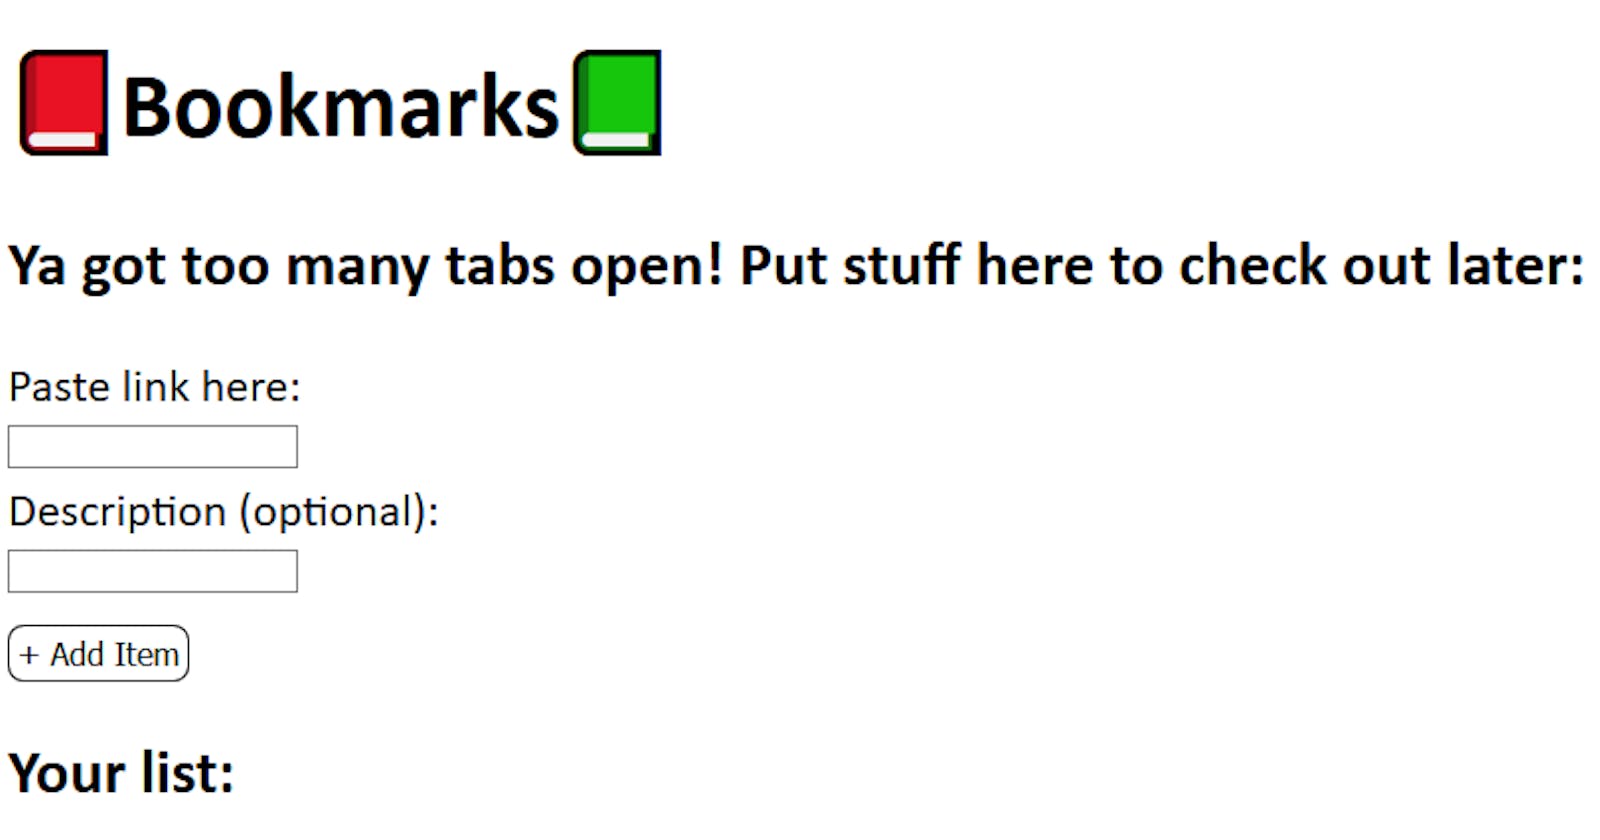
After the introductory stuff, I add a form tag with the class “add-items” and two text inputs for me to add the link and description. I can use “name” to reference later in JavaScript. I’ll make the link required and the description optional (I need to make sure this works if I don’t add a description, too).
<form class="add-items">
        <label for="lflink">Paste link here:</label>
        <input id="lflink" type="text" name="link" required />
        <label for="lfdesc">Description (optional):</label>
        <input id="lfdesc" type="text" name="description" />
        <input class="add-button" type="submit" value="+ Add Item" />
      </form>
Next, I create an unordered list where the dynamic line items will be added with JS.
    <div class="list-wrapper">
        <h2>Your list:</h2>
        <ul class="listing"></ul>
      </div>
    </div>
And that’s pretty much it!
Onto the JavaScript
First, defining my initial variables:
I have variables for the button to trigger adding an item; I’ll set an event listener using this. Also, I need a variable for the listing wrapper where all of my links will go. Because I’m working with local storage, I will use a const variable to get what’s currently stored or, if nothing, an empty array. Since local storage stores this data as a string, I’ll use JSON.parse() to convert it into an object I can work with. This will be an array of objects, so I can later reference the link, description, and id number for each
I also set a variable for an id number, which I will explain and work with later. It starts at 0 if we start new or clear the storage.
const ADDITEMS = document.querySelector(".add-items");
const LISTING = document.querySelector(".listing");

const ITEMS = JSON.parse(localStorage.getItem("items")) || [];

let idNum = localStorage.getItem("idNum") || 0;
I will have 3 main functions to get this working: Adding an item, populating the current list, and deleting an item.
Adding an item
For adding an item, this function will be called when the form is submitted. I can add the event as an argument, use the preventDefault() method to prevent the page from refreshing every time I submit the form.
I can now set two new variables that will get the value of our text boxes. I created names for each in HTML so that I can now reference them with this.querySelector(). These values are then put into an object and added to the top of my array of items using .unshift(). This updated array should now be set to local storage using localStorage.setItem(). With this method, I name the object I want to store and then store the new ITEMS array with JSON.stringify().
localStorage.setItem("items", JSON.stringify(ITEMS));
After that, I’ll call the function to populate our list and then use this.reset() to clear the form.
    function addItem(e) {
      e.preventDefault(); //Prevents it from refreshing

      const LINK = this.querySelector("[name=link]").value;
      const DESC = this.querySelector("[name=description]").value;

      ITEMS.unshift({
        LINK,
        DESC,
        idNum,
      });

      //should be setting the entire array
      localStorage.setItem("items", JSON.stringify(ITEMS));

      populateItems();

      this.reset(); //clears a form
    }
    ADDITEMS.addEventListener("submit", addItem);
Populating the items on the page
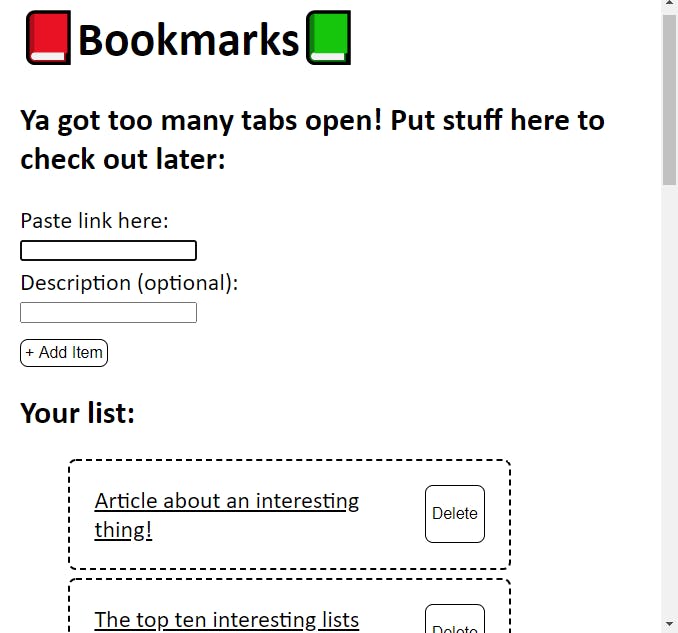
This function will be called whenever we refresh the page, or add or delete an item. Using template literals, I create a new li tag with an <a> tag inside of that. The href will be the link value, and the title will be the description. For the text value of the tag, l can use a ternary operator to list the description or just the link if no description was added. This is added to the inner HTML of the unordered list. There will be commas between each item, which I can fix with .join(“”). As we saw before, I call this function at the end of adding an item. I will also call it after deleting an item, and outside of our functions so that it loads the list every time I refresh the page.
function populateItems() {
  LISTING.innerHTML = ITEMS.map((item) => {
    return `<li class="list-item" a href="${
      item.LINK
    }" title="${item.DESC}">${
      item.DESC ? item.DESC : item.LINK
    }</a><button class="delete-btn">Delete</button></li>`;
  }).join("");
}
I now have the main part working! The delete button is trickier, and I guarantee there’s a better way to do it. But here’s what I got -
Deleting an item
First off, add the delete button to our template literal in the populateItems() function. (I will also add an id number attribute and “item.idNum” to the template literal, which I’ll explain below. Within this same function, I’ll add the listeners for the delete buttons and assign them to a variable.
function populateItems() {
  LISTING.innerHTML = ITEMS.map((item) => {
    return `<li class="list-item" id="${item.idNum}"><a href="${
      item.LINK
    }" title="${item.DESC}">${
      item.DESC ? item.DESC : item.LINK
    }</a><button class="delete-btn">Delete</button></li>`;
  }).join("");

  const DELETEBTN = document.querySelectorAll(".delete-btn");

  DELETEBTN.forEach((button) => {
    button.addEventListener("click", deleteItem);
  });
}
ID numbers
Now I add the concept of ID numbers into the logic. There is surely a better strategy, but it absolutely works for my purposes. Basically, I want to iterate by 1 each time an item is added and assign this new number to my HTML elements when adding and populating them. I’ll also set the current id number to local storage so it doesn’t reset every time I refresh. This goes in the addItems function. This will hopefully make sense in a second.
idNum++;
localStorage.setItem("idNum", idNum);
The delete function
The first thing I’ll do in this function is use confirm() to make sure I don’t accidentally delete an item. This returns true or false based off the user’s response. If true, the function will continue.
Now here’s where the ID number comes into play. Using the filter method, I can look through each item in our array and see if the ID matches that of the item I want to delete. If I were to match the link or description instead of a unique ID number here, I might run into an error or delete more items than I want to. (For example, if a user accidentally added a duplicate link and wanted to delete just one.)
Once the filter method returns the matched item, .indexOf() can give me the location of this item in the array, and .splice() can remove it. To follow that up, I set it back in local storage and then call the populate function again to get the new list up on the page.
function deleteItem() {
  let check = confirm("Are you sure?");
  if (check !== true) {
    return;
  } else {
    let filteredItem = ITEMS.filter((item) => {
      return item.idNum.toString() === this.parentNode.id;
    });
    console.log(filteredItem[0]);
    console.log(ITEMS);
    console.log(ITEMS.indexOf(filteredItem[0]));

    let deleteIndex = ITEMS.indexOf(filteredItem[0]);

    ITEMS.splice(deleteIndex, 1);

    localStorage.setItem("items", JSON.stringify(ITEMS));

    populateItems();
  }
Important note with forms and links
I just made this for me to use and I did not add any sophistication to the form and text boxes, which means they’re super vulnerable if up on an actual server. As with any forms, this is an issue, so it’s always recommended you look at the possible solutions. (Form validation)
Additionally, and worth further research, is that the submitted links only work in this app if they begin with http or https. I did not add anything to make sure the user does this, so it would be worth looking into further. For my purposes, I’m cutting and pasting links from browser tabs, so they’ll always have it by default.
Conclusion
And that’s pretty much it! Every time I load this page in my browser, I can see a list of links I want to view and then add or delete to my heart’s content. Let me know how this looks! Maybe a trick or two to make it better. I appreciate any feedback : )
Thanks so much for reading!